Zum Inhalt springen
Sign up for a free recipe e-book →
Musternixe
Search
Musternixe
Ränder und abketten
Videos zur Musternixe
Musternixe in Englisch
Musternixe en francais
Tücher
30/15
Chicca
Socken und Stulpen
Stricken
Häkeln
Allgemein
Für das Baby
Kategorie:
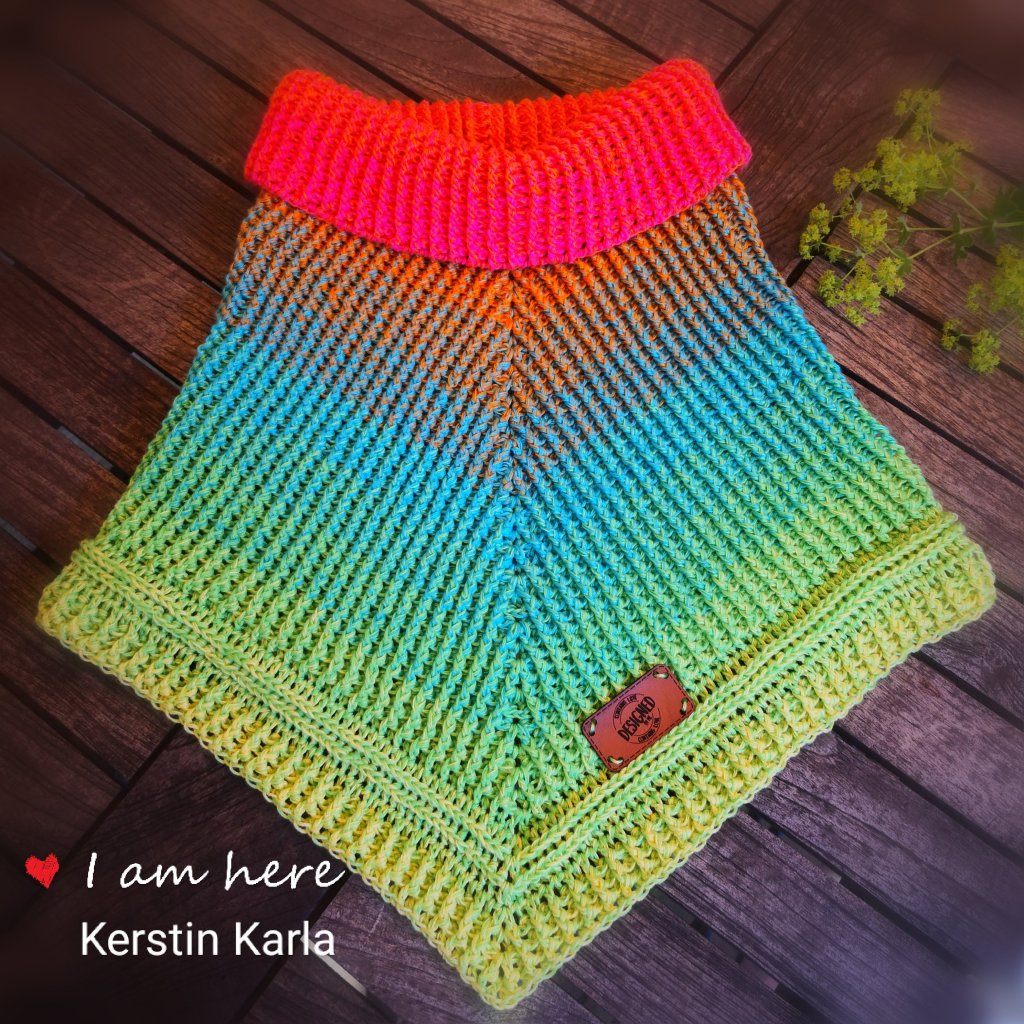
Pattern mix
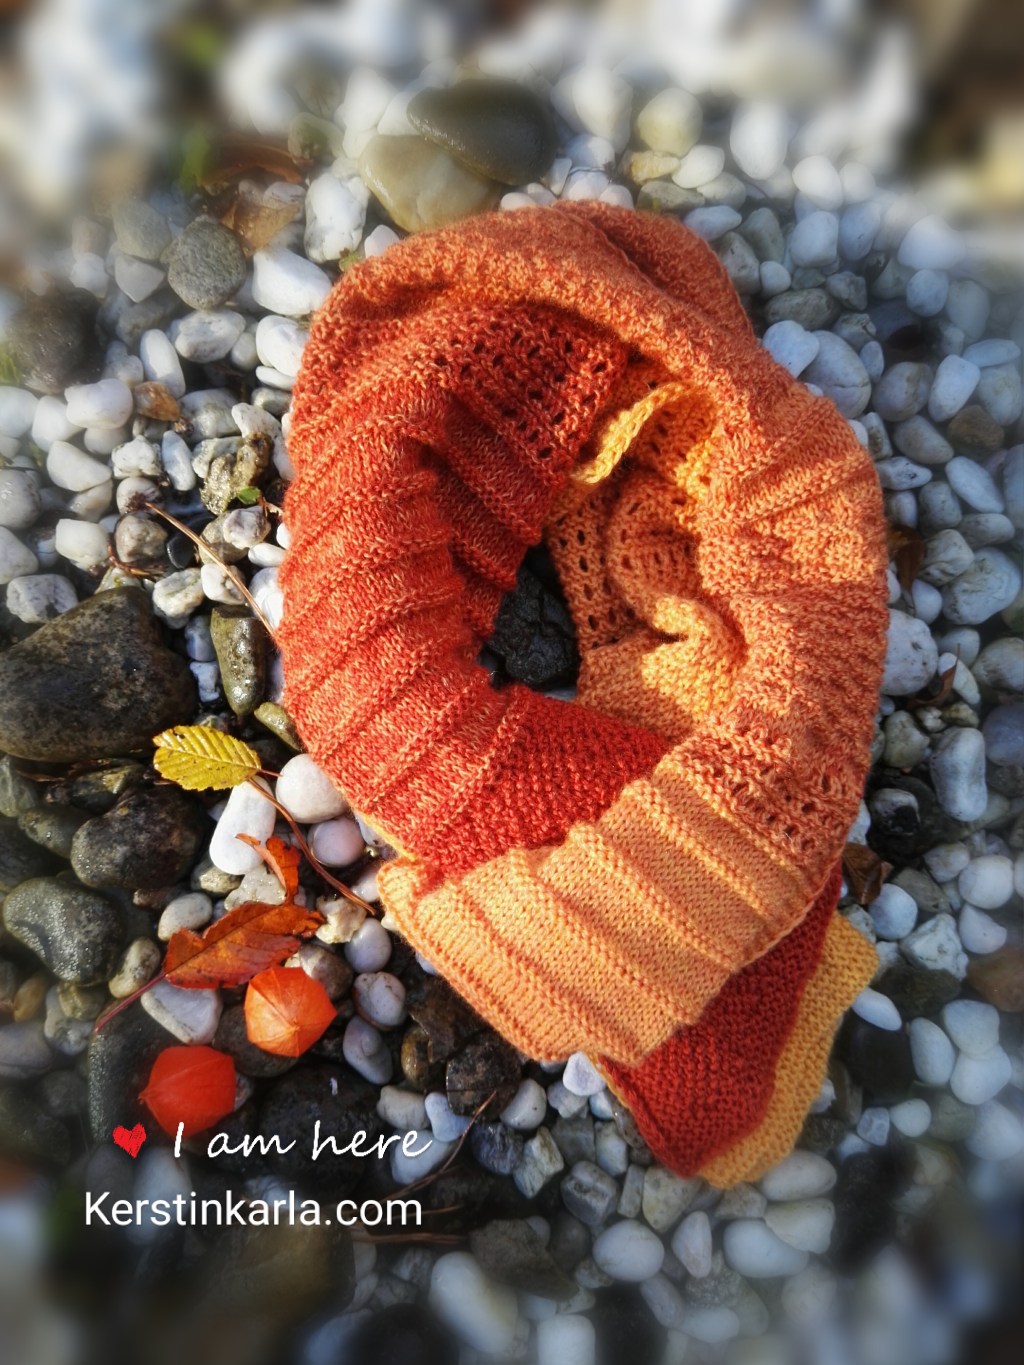
Der Schal Fanaty
Orange scarf in Musternixen Style
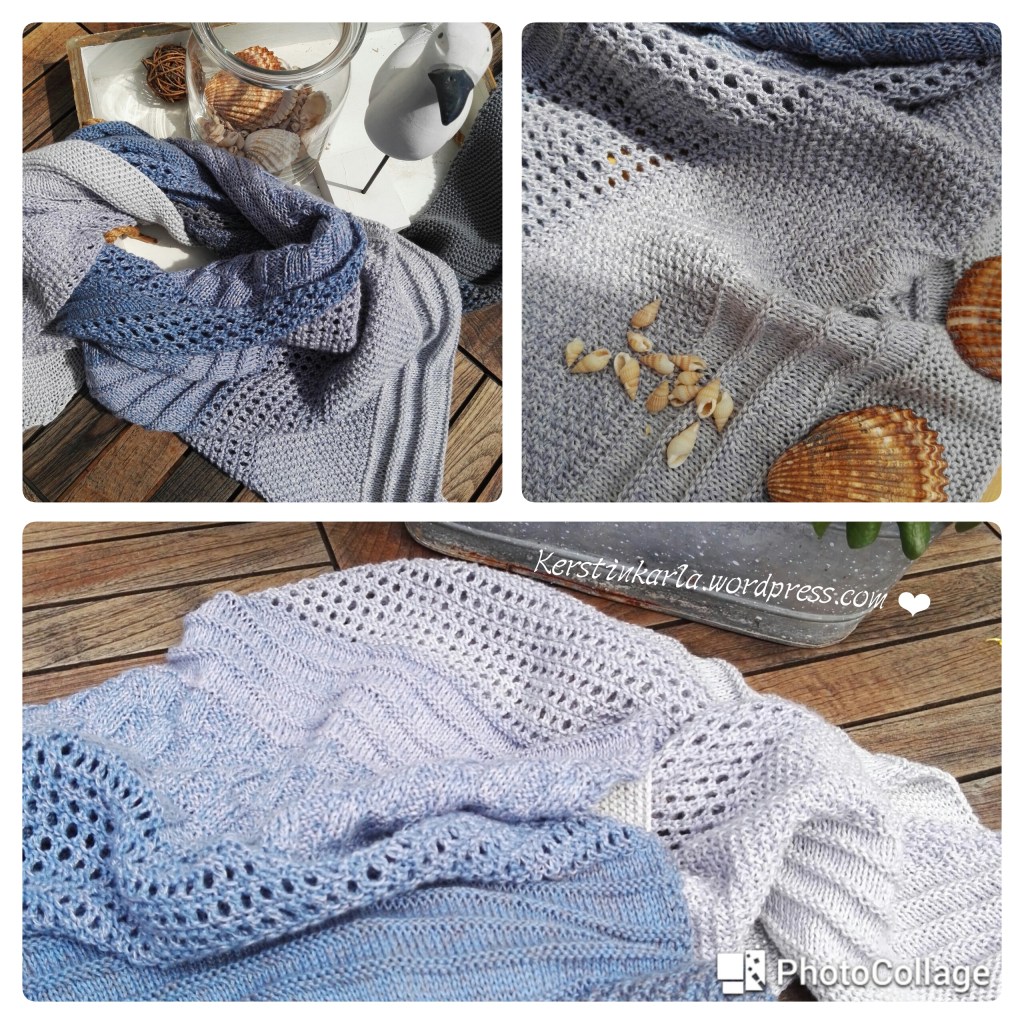
Musternixe in Englisch, Pattern Nix
Datenschutz & Cookies: Diese Website verwendet Cookies. Wenn du die Website weiterhin nutzt, stimmst du der Verwendung von Cookies zu.
Weitere Informationen, beispielsweise zur Kontrolle von Cookies, findest du hier:
Cookie-Richtlinie
Abonnieren
Abonniert
Musternixe
Schließe dich 472 anderen Abonnenten an
Anmelden
Du hast bereits ein WordPress.com-Konto?
Melde dich jetzt an.
Musternixe
Abonnieren
Abonniert
Registrieren
Anmelden
Melde diesen Inhalt
Website im Reader anzeigen
Abonnements verwalten
Diese Leiste einklappen